Sand Filter Setup: A Comprehensive Guide
When it comes to water filtration, a sand filter setup is a popular choice for both residential and commercial applications. It’s a simple yet effective method to remove impurities from water, ensuring its cleanliness and safety. In this article, we will delve into the details of a sand filter setup, covering its components, installation process, maintenance, and benefits.
Components of a Sand Filter Setup

A typical sand filter setup consists of several key components:
| Component | Description |
|---|---|
| Filter Tank | The main container where the water is filtered. It is usually made of plastic or fiberglass. |
| Sand Bed | The layer of sand at the bottom of the filter tank, which traps impurities as water passes through. |
| Support Gravel | A layer of gravel placed on top of the sand bed to prevent sand from mixing with the water. |
| Filter Media | Additional materials, such as anthracite or garnet, that can be added to the sand bed for enhanced filtration. |
| Backwash Valve | A device that allows water to be flushed out of the filter tank, cleaning the sand bed and extending its lifespan. |
| Control Valve | A valve that controls the flow of water into and out of the filter tank, as well as the backwashing process. |
These components work together to ensure that the water passing through the filter is as clean and pure as possible.
Installation Process

Installing a sand filter setup is a relatively straightforward process, but it requires careful planning and execution. Here’s a step-by-step guide:
- Choose the right location for the filter tank. It should be easily accessible for maintenance and have a solid, level surface.
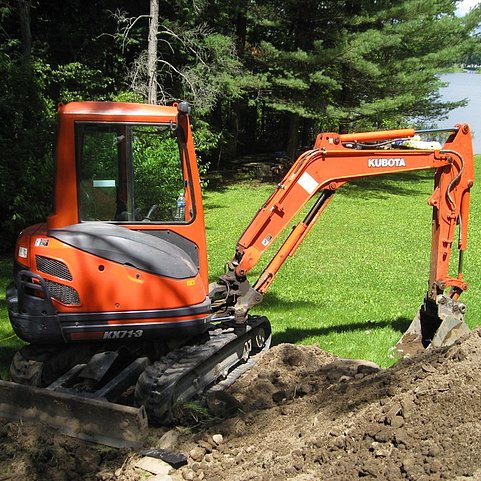
- Excavate a hole for the filter tank, ensuring it is the correct size and depth.
- Position the filter tank in the hole and secure it in place.
- Connect the incoming and outgoing pipes to the filter tank, ensuring they are properly aligned and sealed.
- Install the backwash valve and control valve, following the manufacturer’s instructions.
- Fill the filter tank with the appropriate filter media, starting with support gravel, followed by sand, and finally, any additional filter media.
- Backwash the filter to remove any debris or air bubbles from the system.
- Test the filter’s performance and make any necessary adjustments.
It’s important to note that the installation process may vary depending on the specific model and brand of sand filter you choose. Always refer to the manufacturer’s instructions for detailed guidance.
Maintenance

Maintaining a sand filter setup is crucial for ensuring its optimal performance and longevity. Here are some key maintenance tasks to consider:
- Regular Backwashing: Backwashing the filter once a week or as needed helps to remove accumulated debris and extend the lifespan of the sand bed.
- Inspection: Regularly inspect the filter tank, pipes, and valves for any signs of damage or wear. Replace any worn-out parts promptly.
- Filter Media Replacement: Replace the sand bed and any additional filter media every few years, or as recommended by the manufacturer.
- Water Quality Testing: Test the water quality regularly to ensure that the filter is effectively removing impurities.
By following these maintenance tips, you can ensure that your sand filter setup continues to provide clean, safe water for years to come.
Benefits of a Sand Filter Setup
There are several benefits to using a sand filter setup for water filtration:
- Cost-Effective: Sand filters are a relatively inexpensive option compared to other types of water filtration systems.
- Easy to Install and Maintain: The installation process is straightforward, and


