
Sand Redwood Deck: A Comprehensive Guide
Are you considering a new deck for your outdoor space? Look no further than the sand redwood deck. This versatile and durable option offers a unique aesthetic and long-lasting performance. In this article, we will delve into the various aspects of a sand redwood deck, including its benefits, installation process, maintenance, and design ideas.
Benefits of Sand Redwood Deck

One of the primary reasons why sand redwood decks are popular is their exceptional durability. Redwood is a naturally resistant wood that can withstand harsh weather conditions, making it an ideal choice for outdoor decks. Additionally, sand redwood is less prone to splintering and warping compared to other wood types, ensuring a smooth and comfortable surface for years to come.
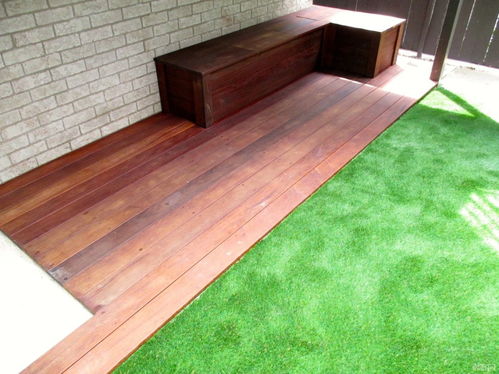
Another advantage of sand redwood decks is their aesthetic appeal. The warm, rich tones of redwood blend seamlessly with various outdoor settings, creating a natural and inviting atmosphere. Whether you prefer a traditional or modern design, sand redwood decks offer a timeless beauty that complements any home.
Redwood is also known for its high resistance to insects and fungi, which makes it an excellent choice for areas prone to pests and moisture. This characteristic ensures that your sand redwood deck will remain in excellent condition for years, even in challenging environments.
Installation Process
Installing a sand redwood deck requires careful planning and execution. Here’s a step-by-step guide to help you through the process:
-
Design your deck: Determine the size, shape, and layout of your deck. Consider factors such as the available space, your home’s architecture, and your personal preferences.
-
Choose the right materials: Select high-quality sand redwood boards for your deck. Ensure that the wood is kiln-dried to minimize warping and splitting.
-
Prepare the foundation: Clear the area where your deck will be installed and lay down a solid, level foundation. This may involve excavating the ground, installing piers, and pouring concrete footings.
-
Construct the frame: Build the frame of your deck using pressure-treated lumber. Ensure that the frame is level and securely anchored to the foundation.
-
Install the joists: Place the joists on top of the frame, spacing them according to the manufacturer’s recommendations. Ensure that the joists are level and securely fastened to the frame.
-
Install the sand redwood boards: Lay the sand redwood boards on top of the joists, starting from one corner. Ensure that the boards are evenly spaced and securely fastened to the joists.
-
Finish the deck: Apply a sealant or stain to protect the wood and enhance its appearance. Choose a product that is suitable for outdoor use and offers UV protection.
Maintenance
Maintaining a sand redwood deck is relatively straightforward. Here are some tips to help you keep your deck looking its best:
-
Clean your deck regularly: Use a broom or a pressure washer to remove dirt, leaves, and debris from the surface.
-
Inspect your deck periodically: Check for signs of wear, such as cracks, splits, or loose boards. Address these issues promptly to prevent further damage.
-
Reapply sealant or stain: Depending on the product you use, you may need to reapply sealant or stain every one to three years. This will help protect the wood and maintain its appearance.
-
Consider a protective cover: If you live in an area with harsh weather conditions, consider using a protective cover to shield your deck from the elements.
Design Ideas
When designing your sand redwood deck, consider the following ideas to create a functional and visually appealing space:
-
Outdoor living area: Create a cozy outdoor living area by adding comfortable seating, a fire pit, and outdoor lighting.
-
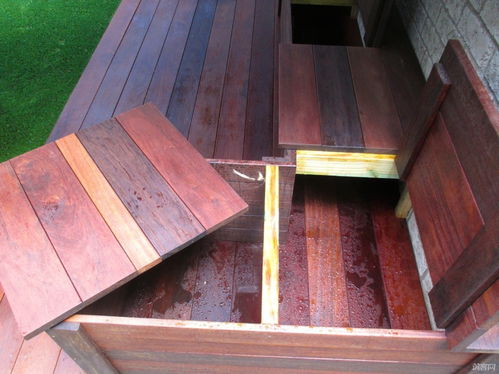
Outdoor kitchen: Install a built-in grill, countertop, and storage space to enjoy outdoor cooking and entertaining.
-
Water features: Incorporate a small pond, fountain, or waterfall to add a touch of tranquility to your deck.
-
Privacy screen: Use lattice, trellises, or planters to create a sense of privacy and define your outdoor space.
google
Website: https://skbestpumpsandmotors.com
Related Story


