
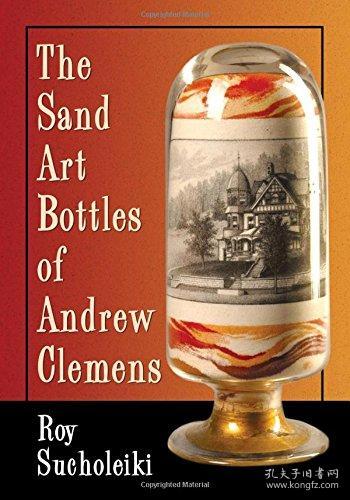
Empty Sand Art Bottles: A Detailed Multidimensional Introduction
Have you ever been intrigued by the intricate patterns and vibrant colors of sand art? If so, you might be interested in learning more about empty sand art bottles. These unique containers not only serve as beautiful decorations but also offer a creative and relaxing hobby. In this article, we will delve into the various aspects of empty sand art bottles, including their history, materials, techniques, and the art itself.
History of Sand Art

Sand art has been around for centuries, with its origins traced back to ancient civilizations. However, it wasn’t until the late 20th century that sand art gained popularity as a modern art form. The technique involves using colored sand to create intricate designs on various surfaces, including glass bottles. Empty sand art bottles have become a popular choice among enthusiasts due to their versatility and aesthetic appeal.
Materials Used
Creating sand art bottles requires a few essential materials. Here’s a list of the most commonly used items:
| Material | Description |
|---|---|
| Empty Glass Bottles | Any size or shape of glass bottle can be used, but clear or lightly tinted bottles are preferred for showcasing the vibrant colors of the sand. |
| Colored Sand | There are countless colors and types of sand available, ranging from fine grains to larger, more textured varieties. The choice of sand depends on the desired effect and the design of the bottle. |
| Glue | Clear, strong glue is essential for securing the sand in place. Epoxy or clear craft glue are popular options. |
| Sand Art Tools | Specialized tools, such as droppers, toothpicks, and small brushes, are used to apply the sand and create intricate designs. |
| Sealer | Once the sand is in place, a clear sealer is applied to protect the design and prevent the sand from falling out. |
Techniques for Creating Sand Art Bottles
Creating sand art bottles is a delicate process that requires patience and attention to detail. Here are some key techniques to help you get started:
- Preparation: Begin by thoroughly cleaning and drying the glass bottle. This ensures that the sand adheres properly and the design is visible.
- Base Layer: Apply a thin layer of glue to the bottom of the bottle, then sprinkle a layer of colored sand over it. This forms the base for your design.
- Designing: Use sand art tools to apply additional layers of sand, creating patterns and shapes. You can use different colors and textures to add depth and interest to your design.
- Finishing Touches: Once the design is complete, apply a clear sealer to protect the sand and prevent it from falling out. Allow the bottle to dry completely before displaying it.
The Art of Sand Art Bottles
Empty sand art bottles are not just decorative items; they are works of art. The beauty of sand art lies in its ability to capture the essence of nature and bring it into your home. Here are some reasons why sand art bottles are considered a form of art:
- Unique and Personal: Each sand art bottle is unique, reflecting the artist’s creativity and personal style.
- Timeless: Sand art bottles have a timeless quality that can be appreciated by people of all ages and backgrounds.
- Versatile: Sand art bottles can be used as decorative pieces, gifts, or even as a conversation starter.
Where to Find Empty Sand Art Bottles
Empty sand art bottles can be found in various places, including craft stores, online marketplaces, and even thrift stores. Here are some options to consider:
- Craft Stores: Local craft stores often carry a selection of empty glass bottles, perfect for sand art projects.
- Online Marketplaces:


