
DIY Sand Table: A Comprehensive Guide
Are you looking to create your own sand table for educational or recreational purposes? Look no further! In this article, we will delve into the ins and outs of building a DIY sand table, covering everything from materials and tools to design and maintenance. Whether you’re a teacher, parent, or hobbyist, this guide will help you build a sand table that meets your needs and exceeds your expectations.
Choosing the Right Materials

When it comes to building a sand table, the choice of materials is crucial. Here are some popular options:
| Material | Description | Pros | Cons |
|---|---|---|---|
| Wood | Hardwood or plywood | Sturdy, durable, and easy to paint or stain | Can be heavy, requires regular maintenance |
| Plastic | High-density polyethylene (HDPE) or polypropylene | Lightweight, durable, and easy to clean | May not be as sturdy as wood, can be expensive |
| Metal | Aluminum or steel | Extremely durable, can be painted or coated | Heavier than wood or plastic, can be expensive |
Consider the intended use of your sand table, as well as your budget and available space, when selecting the appropriate material.
Tools and Equipment
Before you start building your DIY sand table, gather the necessary tools and equipment. Here’s a list of essential items:
- Saw (hand saw, circular saw, or jigsaw)
- Screwdriver (flat-head and Phillips-head)
- Drill and drill bits
- Hammer
- Level
- Measuring tape
- Sanding paper or sanding block
- Paint or primer
- Sealant or varnish
Make sure you have the appropriate tools for the material you’ve chosen, as well as any additional tools specific to your design.
Designing Your Sand Table
Once you’ve selected your materials and gathered your tools, it’s time to design your sand table. Consider the following factors:
- Size: Determine the dimensions of your sand table based on your available space and intended use.
- Shape: Rectangular, square, or circular? Choose a shape that best suits your needs.
- Depth: A depth of 2-3 inches is ideal for sand play.
- Accessories: Consider adding features such as a water tray, storage compartments, or a ramp.
Sketch out your design on paper or use a computer-aided design (CAD) program to visualize your sand table.
Building the Sand Table
Follow these steps to build your DIY sand table:
- Measure and cut your materials to the desired dimensions.
- Assemble the frame using screws and wood glue.
- Attach the base to the frame using screws.
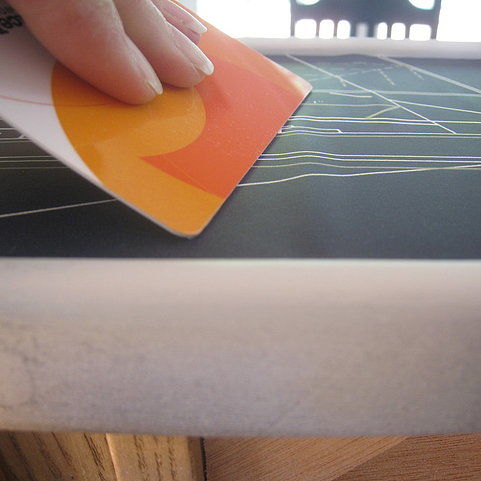
- Sand the surfaces to ensure smoothness.
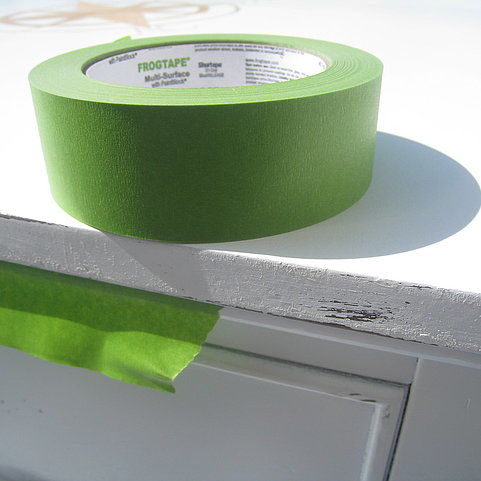
- Paint or stain the sand table as desired.
- Apply a sealant or varnish to protect the finish.
Remember to take your time and ensure that all components are securely fastened.
Maintaining Your Sand Table
Proper maintenance is essential to keep your DIY sand table in good condition. Here are some tips:
- Regularly clean the sand table with a damp cloth to remove dirt and debris.
- Empty and rinse the sand table after each use to prevent mold and mildew growth.
- Check for loose screws or other components and tighten as needed.
- Apply a fresh coat of paint or sealant every few


