
Blender Sand Texture Free: A Comprehensive Guide
Are you looking to enhance your Blender projects with realistic sand textures? Look no further! In this detailed guide, we will explore the various aspects of obtaining and using the Blender sand texture free. From downloading the texture to applying it in your projects, we’ve got you covered.
Where to Find the Blender Sand Texture Free

One of the first steps in obtaining the Blender sand texture free is knowing where to look. There are several reliable sources where you can find high-quality sand textures for free. Here are a few options:
| Website | Description |
|---|---|
| Blendswap | Blendswap is a popular website for sharing Blender resources, including textures. You can find a variety of sand textures here, both free and paid. |
| ArtStation | ArtStation is a platform for artists to showcase their work. Many artists share their textures for free, including sand textures, on their profiles. |
| Polygonal | Polygonal offers a collection of free textures, including sand textures, that you can download and use in your Blender projects. |
Downloading and Installing the Texture
Once you’ve found a sand texture you like, it’s time to download and install it in Blender. Here’s a step-by-step guide to help you through the process:
- Download the texture file from the source you’ve chosen.
- Open Blender and navigate to the “File” menu.
- Select “Import” and choose the file type that matches the downloaded texture (e.g., “.jpg”, “.png”, “.tga”).
- Blender will prompt you to select a texture slot. Choose an available slot or create a new one.
- The texture will be imported into Blender and applied to the selected slot.
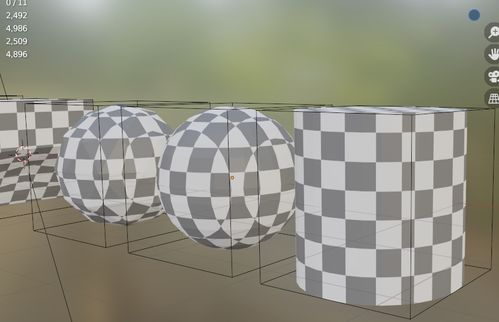
Applying the Sand Texture to Your Project
Now that you have the sand texture installed, it’s time to apply it to your project. Here’s how to do it:
- Select the object you want to apply the texture to.
- Go to the “Properties” panel on the right side of the Blender interface.
- Under the “Material” tab, click on the “+” button to add a new material.
- With the new material selected, navigate to the “Texture” tab.
- Click on the “Image” button and select the sand texture you imported earlier.
- Adjust the texture settings to your preference, such as scale, offset, and rotation.
- Click “Apply” to apply the texture to the object.
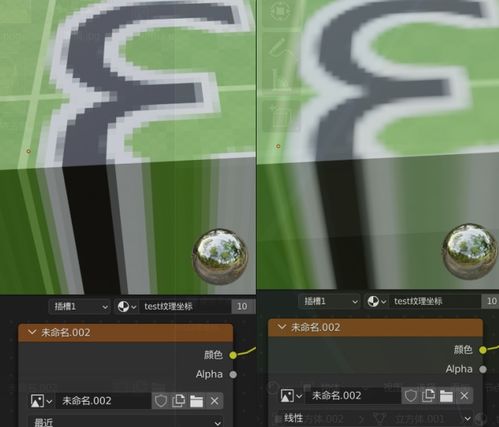
Customizing the Sand Texture
Once the sand texture is applied, you may want to customize it further to match your project’s needs. Here are some tips for customizing the sand texture:
- Adjust the scale: If the texture appears too large or too small, adjust the scale slider in the texture settings.
- Change the color: You can change the color of the texture by adjusting the color settings in the material properties.
- Add a bump map: To add depth to the texture, you can apply a bump map to the object. This will create a 3D effect based on the texture’s grayscale values.
- Use a displacement map: For a more realistic sand texture, you can use a displacement map to add fine details to the surface.
Conclusion
Using the Blender sand texture free is a great way to enhance your projects with realistic sand textures. By following this comprehensive guide, you should now have a good understanding of where to find the texture, how to download and install it, and how to apply it to your Blender projects. Happy blending!


