
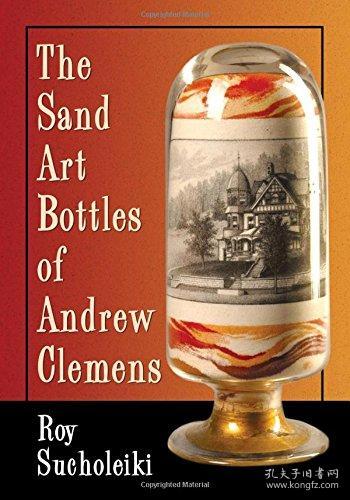
Coloured Sand Bottle Art: A Captivating Craft
Coloured sand bottle art, also known as layered sand art or sand bottle art, has gained immense popularity in recent years. This unique form of art involves creating beautiful designs using different shades of sand. Whether you are a hobbyist or an artist, this craft offers a delightful way to express your creativity. In this article, we will delve into the various aspects of coloured sand bottle art, including its history, techniques, and the materials required.
History of Coloured Sand Bottle Art

Coloured sand bottle art has its roots in Japan, where it was first introduced in the 1970s. The craft quickly gained popularity and spread to other parts of the world. It was initially used as a form of meditation and stress relief, but today, it has become a popular hobby and a unique way to decorate homes.
Materials Required for Coloured Sand Bottle Art
Creating a beautiful sand bottle requires a few essential materials. Here’s a list of items you will need:
| Material | Description |
|---|---|
| Sand | High-quality, fine-grained sand is essential for creating smooth and even layers. |
| Colours | Coloured sand comes in various shades and can be purchased from craft stores or online. |
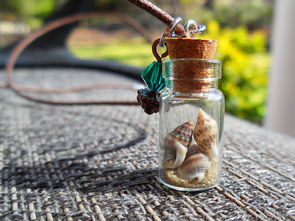
| Clear glass bottles | Any size of clear glass bottle can be used, but taller bottles are often preferred. |
| Water | Water is used to help the sand settle and create layers. |
| Syringes or droppers | These are used to add small amounts of sand and water to the bottle. |
| Sealant | Sealant is used to seal the bottle and protect the sand layers. |
Techniques for Creating Coloured Sand Bottle Art
Creating a stunning sand bottle requires patience and attention to detail. Here are some techniques to help you get started:
- Layering Sand: Begin by adding a layer of sand to the bottom of the bottle. Use a syringe or dropper to add small amounts of water to help the sand settle. Repeat this process with different shades of sand, creating a gradient effect.
- Creating Patterns: Once the layers are in place, you can create patterns by adding small amounts of sand on top of the existing layers. Use a toothpick or a fine brush to create intricate designs.
- Adding Decorations: You can enhance your sand bottle by adding small decorations, such as glitter, beads, or sequins. These can be added before or after the sand layers are in place.
- Sealing the Bottle: Once you are satisfied with the design, seal the bottle using a clear sealant. This will protect the sand layers and prevent them from shifting.
Popular Designs in Coloured Sand Bottle Art
Coloured sand bottle art offers endless possibilities for creative designs. Here are some popular themes and ideas:
- Landscapes: Create stunning landscapes by layering sand to represent mountains, rivers, and forests.
- Flowers and Plants: Use vibrant shades of sand to create lifelike flowers and plants.
- Abstract Art: Experiment with different shades and patterns to create abstract art pieces.
- Geometric Shapes: Use precise lines and angles to create geometric shapes and patterns.
Benefits of Coloured Sand Bottle Art
Coloured sand bottle art offers several benefits, including:
- Stress Relief: The process of creating sand bottle art is meditative and can help reduce stress and anxiety.
- Creativity: It allows you to express your creativity and explore different artistic styles.
- Decorative: The finished sand bottles


